Content
Wood decorative film is a thin, flexible material printed with realistic wood grain patterns that you apply directly to surfaces like furniture, walls, cabinets, doors, and countertops. It mimics the look and sometimes even the texture of real wood — without the cost, weight, or maintenance that comes with solid timber. Originally popular in commercial interiors and furniture manufacturing, wood grain film has made its way into everyday home renovation projects, and it's easy to see why.
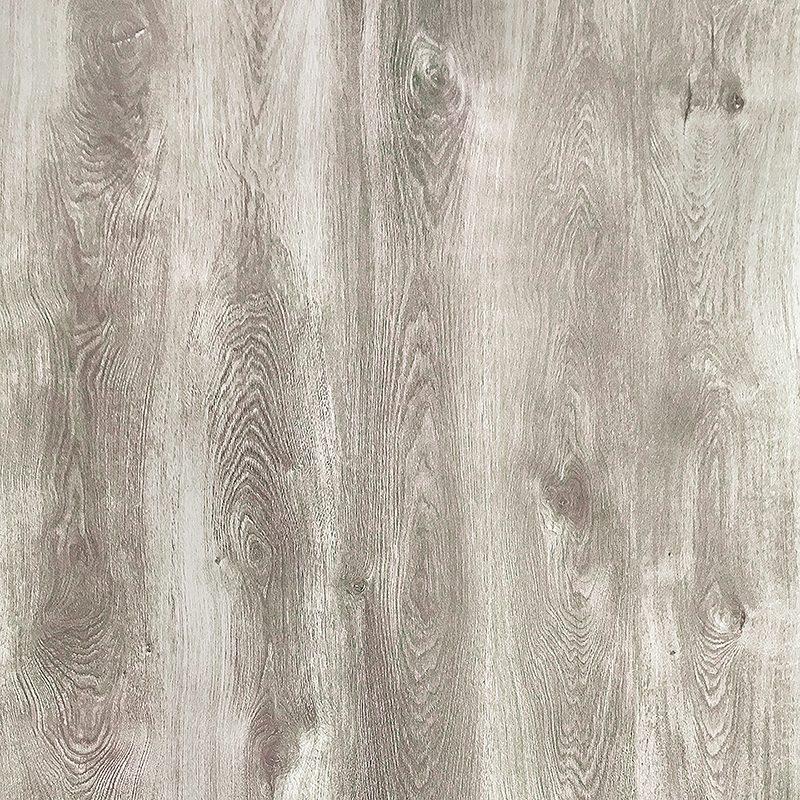
Modern wood texture vinyl wraps are printed using high-resolution digital processes, so the grain patterns look incredibly natural. Some premium versions even have embossed surfaces that feel like actual wood when you run your hand over them. Whether you're updating a dated kitchen, refreshing old office furniture, or adding warmth to a plain wall, wood pattern adhesive film offers a practical shortcut to that high-end timber aesthetic.
Not all wood decorative films are the same. They vary in material composition, finish, adhesive type, and intended application. Understanding the main categories helps you pick the right product for your specific project so you don't waste time or money on something that won't hold up.
PVC-based wood decorative film is the most widely used type in furniture manufacturing. It's durable, moisture-resistant, and easy to laminate onto MDF, particleboard, and plywood. You'll find this type on flat-pack furniture, kitchen cabinet doors, and office desks. It typically comes with a heat-activated or pressure-sensitive adhesive and is well-suited for factory application rather than DIY projects.
This is the go-to option for DIY enthusiasts. Self-adhesive wood grain film has a peel-and-stick backing, making it easy to apply at home without special tools or professional skills. It works well on smooth surfaces including furniture panels, shelving, doors, and even appliances. Many versions are repositionable for a short period after application, which gives beginners some room for adjustment.
Thermal wrapping film is designed to be applied with heat, allowing it to conform tightly to curved or routed edges on cabinet doors and furniture profiles. This type produces a seamless, factory-quality result that's hard to achieve with cold-applied films. It's commonly used by cabinet makers and furniture refurbishers who want a professional finish on complex shapes.
For the most realistic result, 3D embossed wood texture film combines a printed grain pattern with a physically textured surface. The embossing process creates micro-grooves and ridges that replicate the feel of natural timber. This type is often used in high-end interior design applications where visual and tactile authenticity both matter.
One of the biggest advantages of wood finish film is its versatility. It can be applied to a wide variety of surfaces and settings, both residential and commercial. Here's a breakdown of the most common applications:
A lot of people debate whether wood decorative film is a worthy substitute for real wood veneer. The honest answer depends on your priorities. Here's a direct comparison across the factors that matter most:
| Factor | Wood Decorative Film | Real Wood Veneer |
| Cost | Low to moderate | Moderate to high |
| Installation Ease | Easy, DIY-friendly | Requires skill and tools |
| Moisture Resistance | High (especially PVC types) | Low without sealing |
| Realistic Appearance | Very good (especially embossed) | Excellent, fully natural |
| Durability | Good with proper application | Excellent with maintenance |
| Repairability | Easy to replace sections | Can be sanded and refinished |
| Environmental Impact | No tree harvesting required | Uses natural timber resources |
For budget-conscious projects, high-humidity environments like kitchens and bathrooms, or situations where fast installation matters, wood decorative film is clearly the better choice. Real wood veneer wins on authenticity and longevity in premium, dry interior applications.
Selecting the right wood grain film isn't just about picking a pattern you like. Several technical factors will determine whether the film performs well over time or starts peeling and fading within months.
Wood decorative film adheres best to smooth, clean, non-porous surfaces like MDF, sealed wood, melamine, metal, and glass. Rough, textured, or highly porous surfaces may not hold the adhesive well, especially around edges. If you're working with an uneven surface, you may need to sand it down or apply a primer coat first.
Kitchens and bathrooms require a film with strong moisture resistance and heat tolerance. Look for PVC-based or polyester wood finish film with a sealed top coat for these areas. For outdoor or semi-outdoor applications like patio furniture or pergola panels, you need UV-resistant wood texture vinyl wrap that won't fade or crack when exposed to sunlight and temperature changes.
Thicker films (typically 0.15mm to 0.5mm) are more durable and better at concealing minor surface imperfections. Thinner films are easier to work with on curved surfaces but may show bumps or scratches underneath. For furniture that sees daily use, go with a thicker, more robust option.
Wood decorative films come in dozens of species patterns — oak, walnut, teak, pine, cherry, ash, maple, and more. Think about the overall color palette of your space. Lighter grains like pine and ash work well in Scandinavian or minimalist interiors, while darker patterns like walnut and wenge suit contemporary or industrial styles. Medium tones like oak are the most versatile and work with almost any decor.
Applying self-adhesive wood grain film is a manageable DIY task if you take your time and prepare properly. Rushing the process is the most common reason for bubbles, misalignment, and peeling edges. Here's how to do it right:
Wood pattern adhesive film is low-maintenance compared to real wood, but it's not entirely care-free. A few simple habits will significantly extend its life and keep it looking fresh for years.
Clean the surface regularly with a soft damp cloth and a mild detergent. Avoid abrasive scrubbers or harsh chemical cleaners — these can scratch the surface coating and dull the finish over time. For kitchen applications, wipe up spills and splatters promptly, especially anything acidic like lemon juice or vinegar, which can break down the adhesive at edges if left sitting.
Avoid placing very hot items directly on wood finish film without a protective mat or trivet. While many films have decent heat resistance, prolonged direct heat contact can cause bubbling or discoloration. Keep film-covered surfaces away from direct steam sources like kettles or pots of boiling water.
If a small section of the film starts to lift at a corner or edge, press it back down with a little heat and firm pressure rather than leaving it — once lifting starts, it tends to spread. For larger damaged areas, it's straightforward to cut out the damaged section and apply a fresh piece of matching film over the top.
Even experienced DIYers run into problems with wood decorative film when they overlook a few critical details. Here are the most common mistakes and how to sidestep them:


Contact
 China Company Address: No.5 Zhaojia Road,
Vietnam Factory Address: GNP Yen Binh
1 - lndustrial Center (Lot CN13,CN18,Yen
Binh Industrial Park, Ward, Dng Tien, Ph8 Yen,
Thai Nguyen 24000)
Thailand Factory Address: 289/12 Moo 7, Klong Kiu Sub-District, Ban Bueng District, Chonburi 20220 THAILAND
China Company Address: No.5 Zhaojia Road,
Vietnam Factory Address: GNP Yen Binh
1 - lndustrial Center (Lot CN13,CN18,Yen
Binh Industrial Park, Ward, Dng Tien, Ph8 Yen,
Thai Nguyen 24000)
Thailand Factory Address: 289/12 Moo 7, Klong Kiu Sub-District, Ban Bueng District, Chonburi 20220 THAILAND
 Tel: +86-13685281168
+86-13813687178
Tel: +86-13685281168
+86-13813687178
 E-mail: [email protected]


 English
 русский